Flat the Mountain Clear All ~89 Layers
End-to-end pacing from first swing to a flattened earth peak — then on toward the Moon.
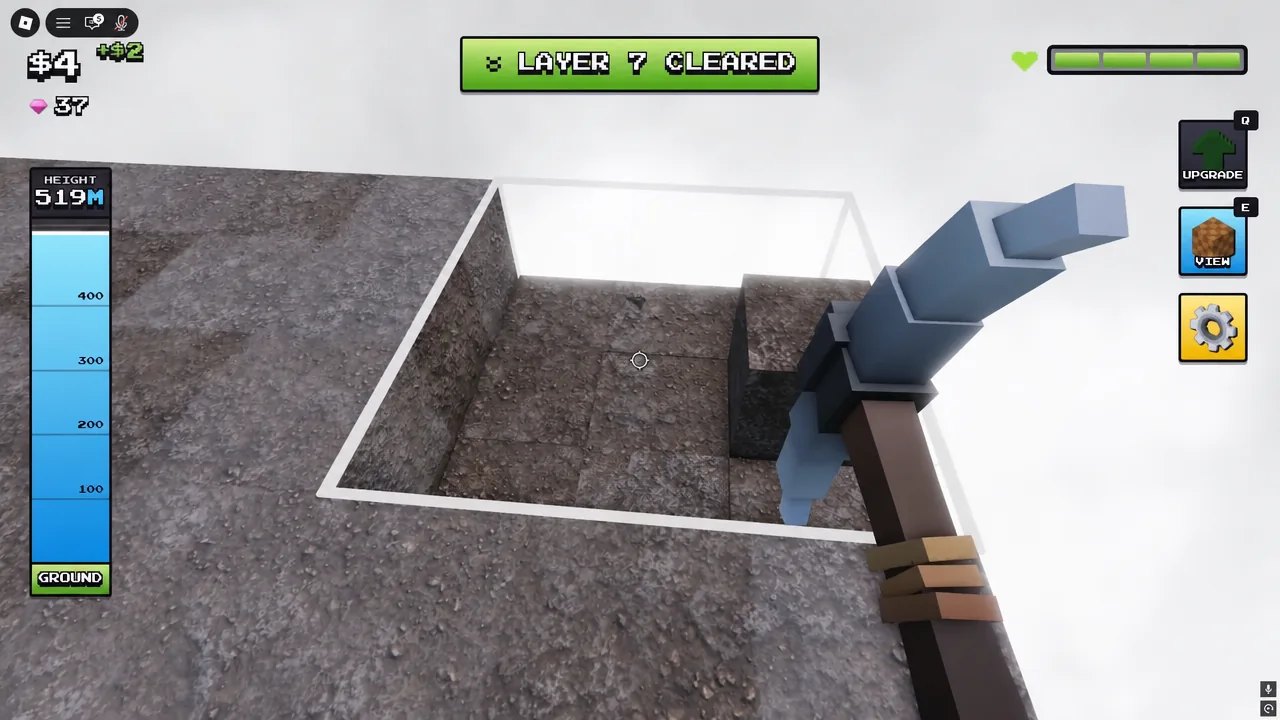
This walkthrough is the finish-line plan for Flatten The Mountain. DomBlox Games built roughly 89 layers, about 534 meters, and on the order of 9400 blocks between you and a completed earth flatten. Use it after Getting Started when you want a structured push toward the ending instead of wandering mid-mountain. After THE MOON IS OPEN, treat a clean earth clear as the practical gate before the Moon Map — do not skip this walkthrough just because a lunar peak exists.
Clear benchmarks
| Milestone | Typical timing / reward |
|---|---|
| First serious clear | ~51 minutes, ~400 gems |
| Storm Hammer optimized | ~33 minutes |
| Storm Hammer cost | ~396 gems, Thundercall ~5% instant destroy |
| Early cash buys | Damage I $1, Drone I $5, Turret I ~$23, Auto Mine ~$200 |
If your first clear is slower than an hour, audit ore routing, chests, and eagle hits before blaming the mountain.
Phase 1 — Foundation (layers early)
Goals: learn ore colors, buy automation, survive eagles.
- Swing Stone only until Damage I and Drone I are owned.
- Add Turret I, then mix levels while hunting Gold/Sapphire (+$40) and better.
- Dig every buried chest — gems start the pickaxe ladder.
- Practice red-zone exits on every EAGLE INCOMING! (Eagle Survival).
- Unlock Auto Mine (~$200) before vanity skills (upgrade tier list).
Buy Golden then Darkite as soon as gems allow (Pickaxes).
Phase 2 — Acceleration (mid layers)
Goals: Amethyst — Miner’s Dream — Glitch — Nature, drones/turrets stacked, chest cadence locked.
- Personally escort Emerald (+$80), Ruby (+$160), Diamond (+$320).
- Leave Coal filler to automation (Drones and Turrets).
- Never shop during 2X Money; spend the burst after.
- Use Mining Speed x1.5 on dense bands or chest finishes.
- In Duo/Trio/Squad (1–4), assign chest diver vs eagle spotter (Players Hub).
Public servers up to 20 players will contest diamonds — lean on drones so contested veins hurt less.
Phase 3 — Breakpoint (late mid)
Goals: Angel / Lava online, Storm Hammer fund visible.
- Estimate gems toward 396.
- If you are within a short chest sequence, hard-save for Storm Hammer.
- If you are far, buy Lava (or Angel) so layers keep moving.
- Reposition turrets every major collapse so arcs stay honest.
- Refuse fake codes — none confirmed working as of November 2026.
Phase 4 — Storm Hammer finish
Equip Storm Hammer and play for procs:
- Thundercall (~5%) needs swings — keep Auto Mine + personal focus on rich sections.
- Drones handle leftovers while you chase chests that appear late.
- Eagle discipline matters more now; each knockback steals PB time.
- Target the ~33-minute window only after automation and axe are both ready — a naked Storm Hammer still fails without drones.
Script users may enable SoftKillz Gem Priority or ALTER Chest ESP (Scripts Hub), but fair clears hit the same ending.
Phase 5 — Ending checklist
Before calling the mountain flat:
- Confirm no unfinished high bands left behind the camera.
- Confirm helpers are not chewing an already-cleared shelf while a rear column remains.
- Bank remaining gems for the next run’s opener.
- Note your time versus 51 / 33 benchmarks.
- Skim Updates Hub if something felt retuned after the ~2026-10-20 window.
Full-run mindset
Think in loops, not hero moments. The Mining Loop compounds; the Tier List Hub tells you what to buy; the Tools Hub keeps inputs clean. YouTube walkthroughs help visually, but your stopwatch plus ore priority decide whether DomBlox’s peak actually falls.
Recovery if a run goes bad
- Broke on eagle spam — spend ten minutes on dodge-only drills, then restart.
- Gem starved — force a chest-only lap even if layers feel slow.
- Cash rich, slow clear — you skipped axes; buy the next pickaxe immediately.
- Axe rich, slow clear — you skipped drones/turrets/Auto Mine; fix cash spends.
- Squad chaos — drop to Solo, stabilize, re-invite with roles.
After the flatten — Moon is the next goal
Once the earth peak is flat, DomBlox’s THE MOON IS OPEN update points you at the Moon Map. Bring Storm Hammer if you own it, refresh sky discipline for the harder Moon threat via Eagle Survival, and skim Moon Update Notes for bombs/drills/splash plus the earth-side pacing buffs that may have already helped this clear.
Share the official place with friends via the Links Hub, reread the Wiki overview if newcomers join, and decide whether the next run is an earth PB, a Squad teach, or your first Moon scout. The clear philosophy stays: automate early, dig chests, dodge the bird, climb axes, finish the peak — then open the Moon when the machine is ready.
Frequently Asked Questions
Quick answers for Flat the Mountain players.
How many layers do I need to clear?
About 89 layers totaling roughly 534 meters and around 9400 blocks on the earth mountain.
What is a good clear time?
First clears often land near 51 minutes. Optimized Storm Hammer runs can approach about 33 minutes.
When should I buy Storm Hammer during a clear?
As soon as you can fund ~396 gems without abandoning drones, turrets, and Auto Mine. Lava is fine while you finish the bank.
What should I do after clearing the earth mountain?
Treat the Moon map from THE MOON IS OPEN as the post-clear goal. Read the Moon Map guide before jumping in undergeared.
Can I clear in Squad?
Yes. Solo/Duo/Trio/Squad (1–4) all work. Assign chest and eagle roles for cleaner times.
What if I get stuck mid-mountain?
Audit chests, pickaxe tier, and automation. One of those three is usually underbuilt.
Do I need scripts to finish?
No. Legal Auto Mine, drones, turrets, and Storm Hammer are enough for full clears.